Installing Kilmat... the sound deadener!
The day has finally came. We ripped out the headliner of our Defender 110 in preparation of our sound deadening project. When it comes to sound deadening, there are so many options to choose from… Dynamite, Noico, off brands that Amazon sells, LizardSkin, you name it. After reading a million different reviews (on multiple different websites), we decided to go with Kilmat. Plus, you can’t beat the price point of $60 for 80 mil and 36 sqft. That’s a fraction of the price of the competitors.

Prior to installation, we took Big Red out for a decibel test at 60 miles per hour. She clocked in at 81 db. With the baseline set, we couldn’t wait to get to work…
Installing Kilmat was incredibly easy, especially if you purchase the rollers. To be honest, my 8 year old installed the little pieces behind the dash. It was quick, easy and didn’t require too many cuts.
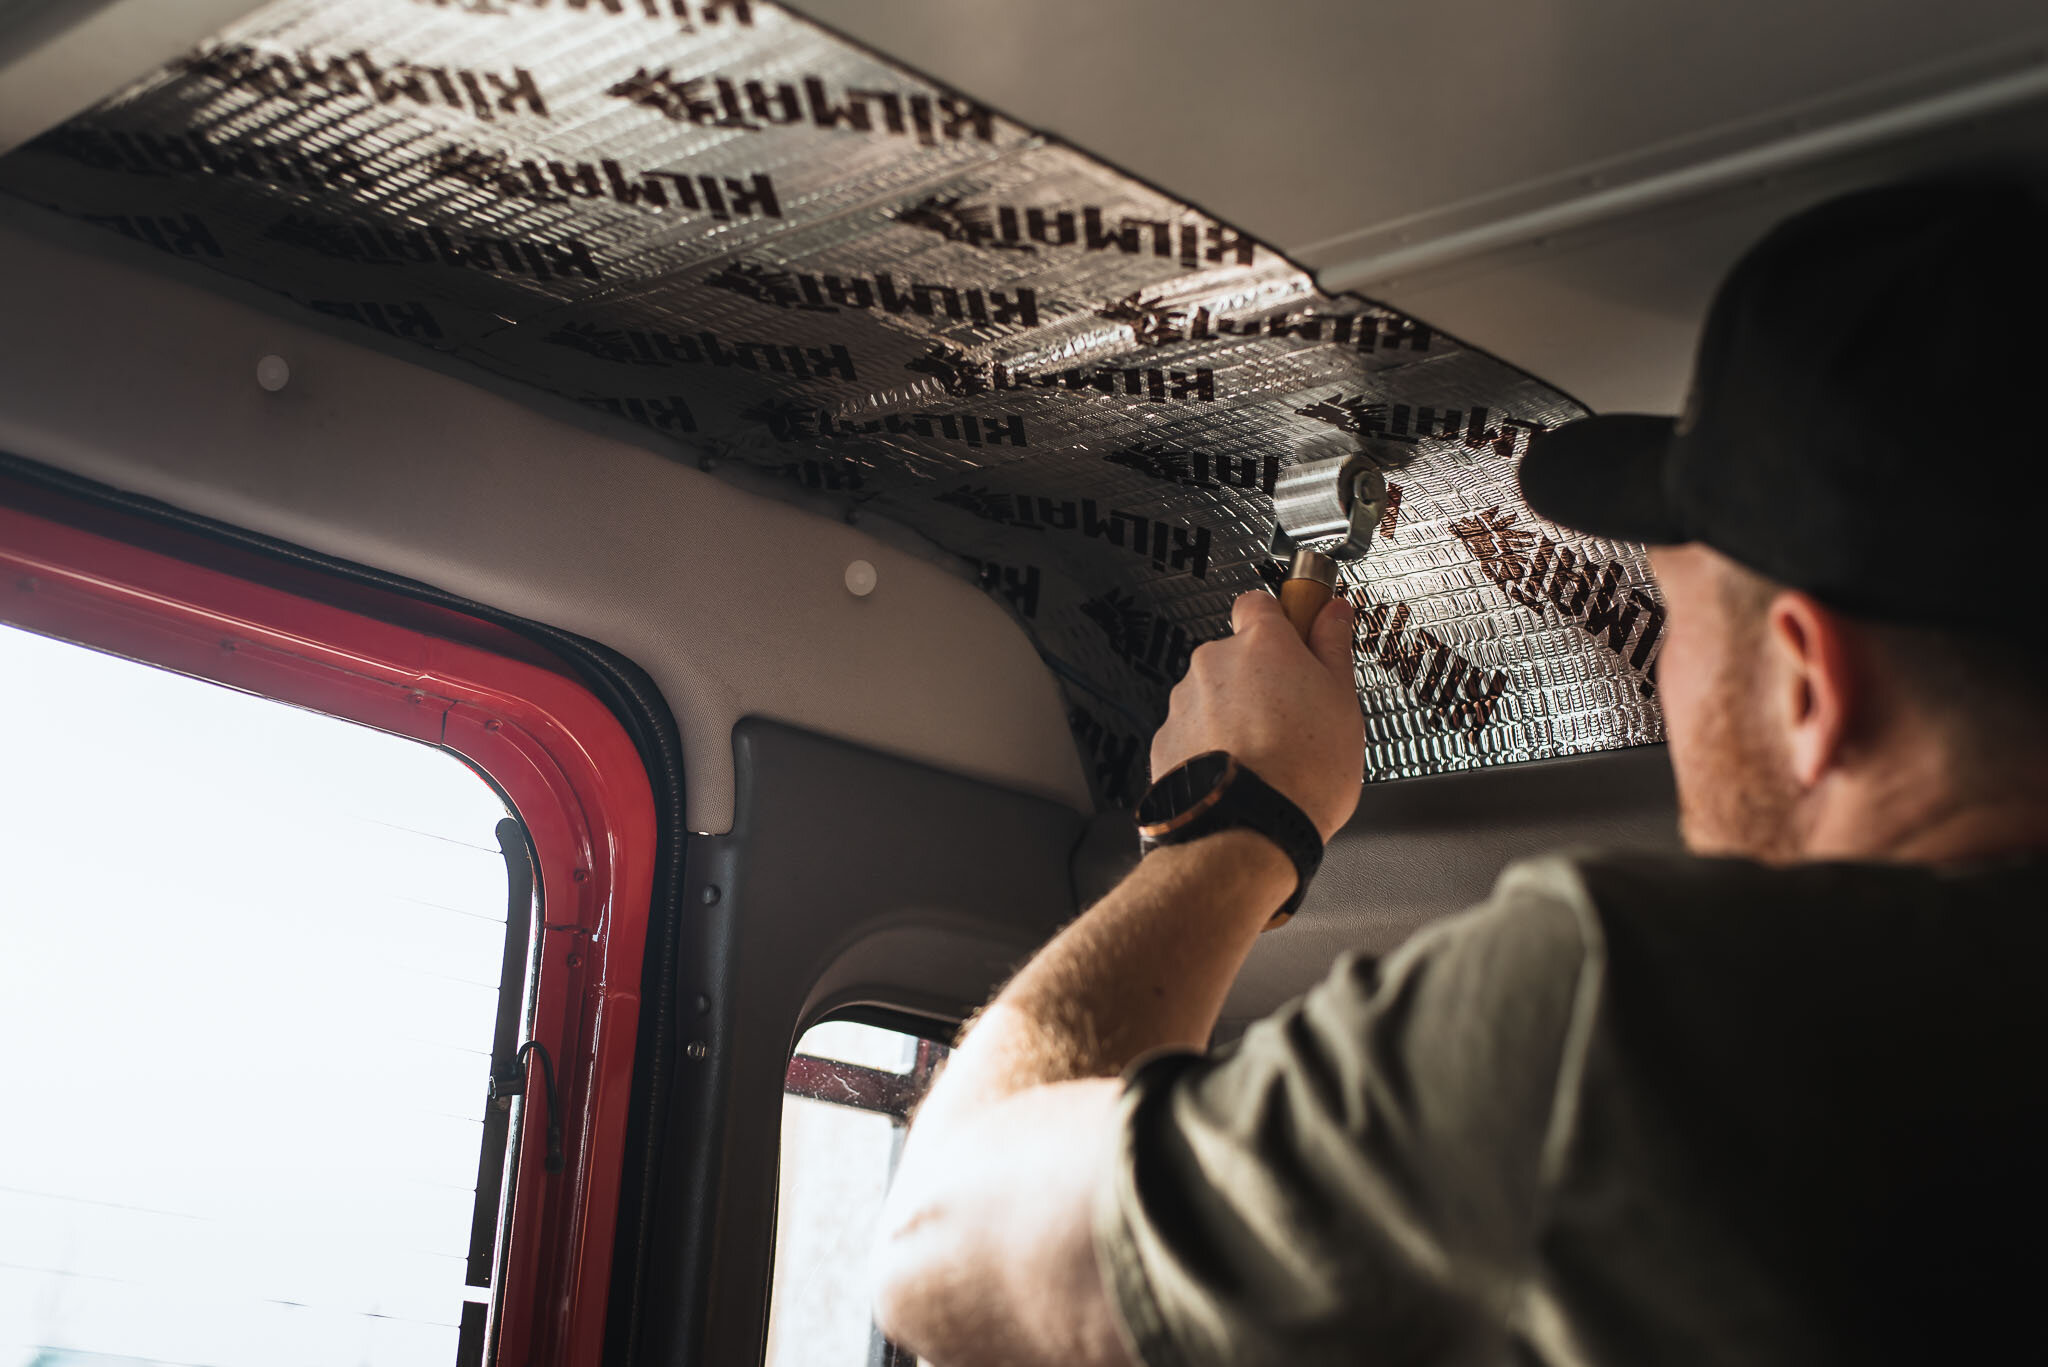
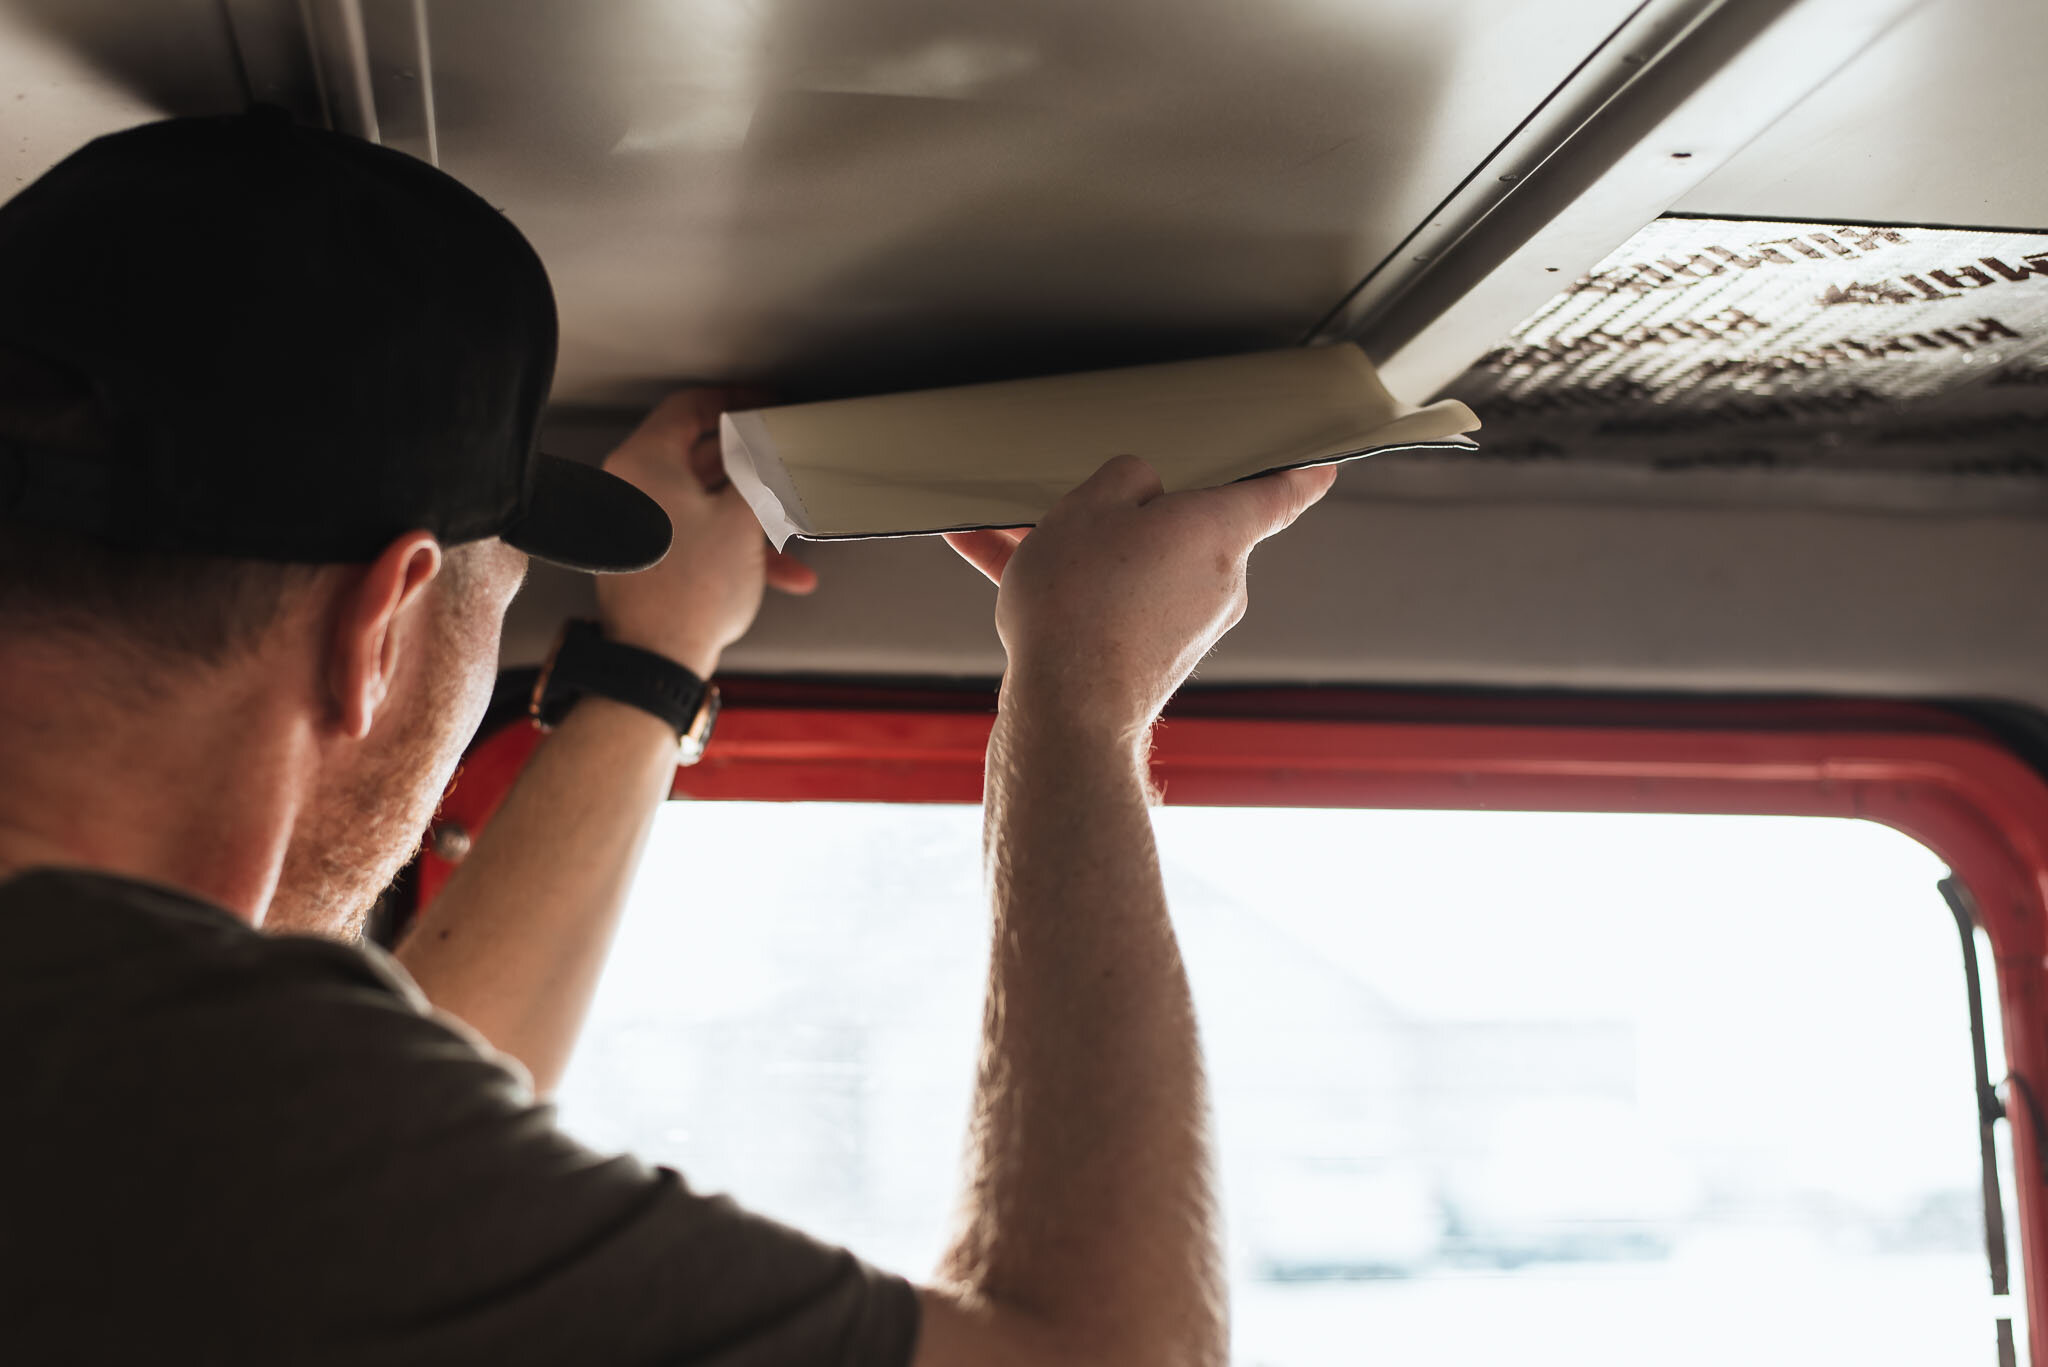
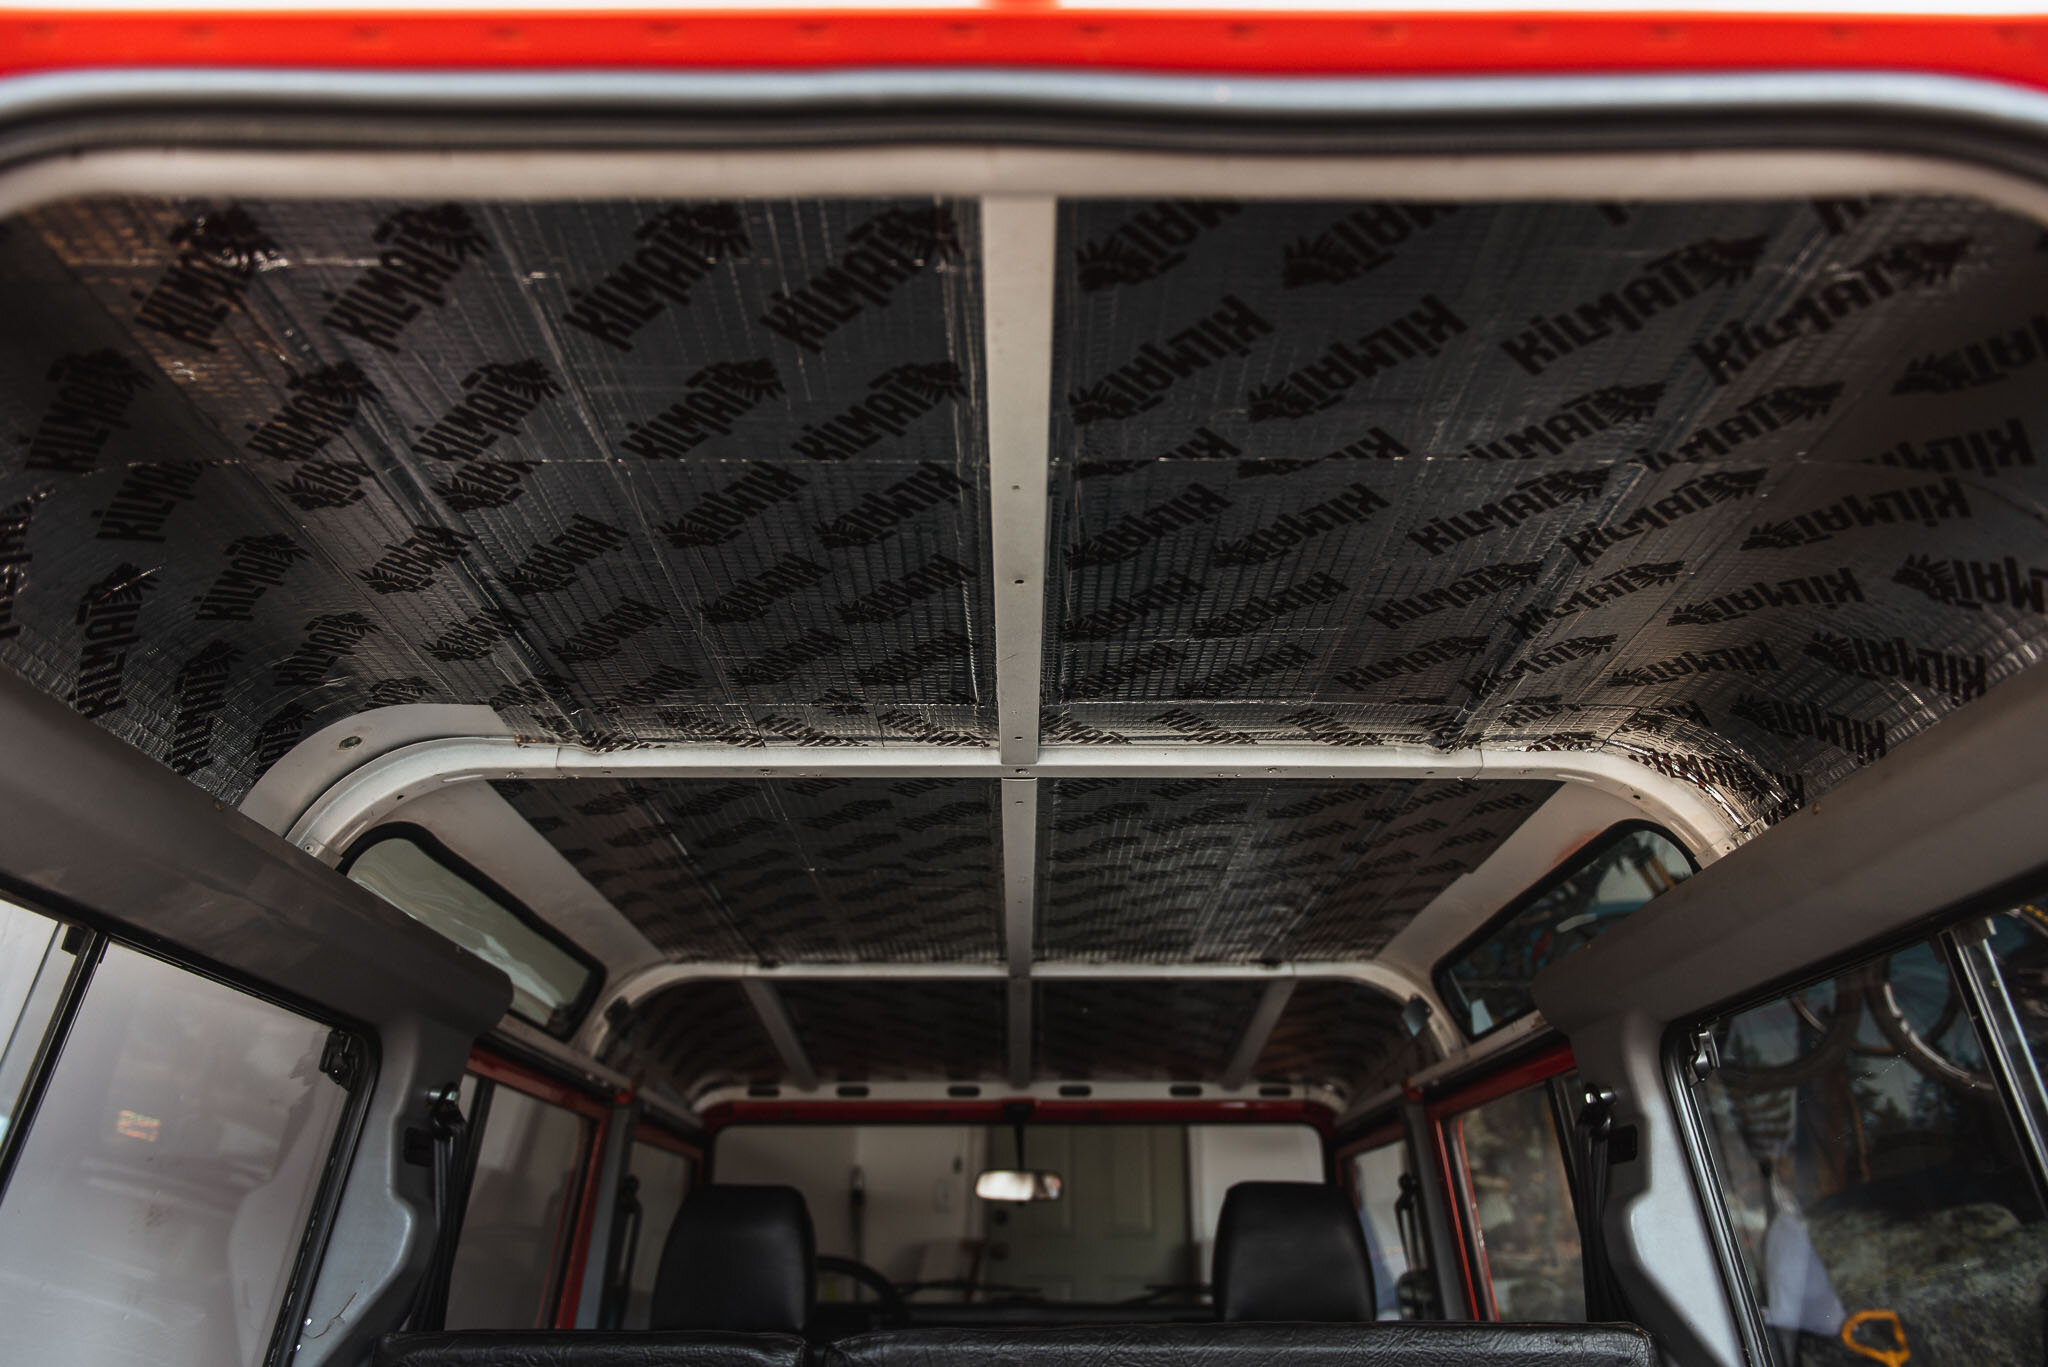
The entire roof took about 2 hours. We haven’t reinstalled the roof liner yet, but since we’ve added the Kilmat we’ve already dropped 1 decibel at 60mph. I was shocked because even though it’s still “loud” the sharpness of the noise has definitely diminished.
Since the sound deadening project is on hold because we’re waiting for the rear roof light (backordered), we decided to start installing the LED indicator lights. That install will require it’s own blog, so I’m going to table that for now. I’ll just say that we ended up ripping out the dash and installing Kilmat behind there too. Bonus!

Gotta love iPhone’s pano mode :)
Overall, this project was pretty easy and fairly inexpensive. One box of Kilmat completed the entire roof. We purchased a second box for behind the dash, doors, under the seats, etc. Definitely an upgrade to the existing condition/sound. As we continue to install, i’ll be sure to either update or create a new blog post for our final review.